
This crochet chunky pumpkin is so quick and easy to make!
It is the perfect addition to your fall decor and will sell great at all fall markets.
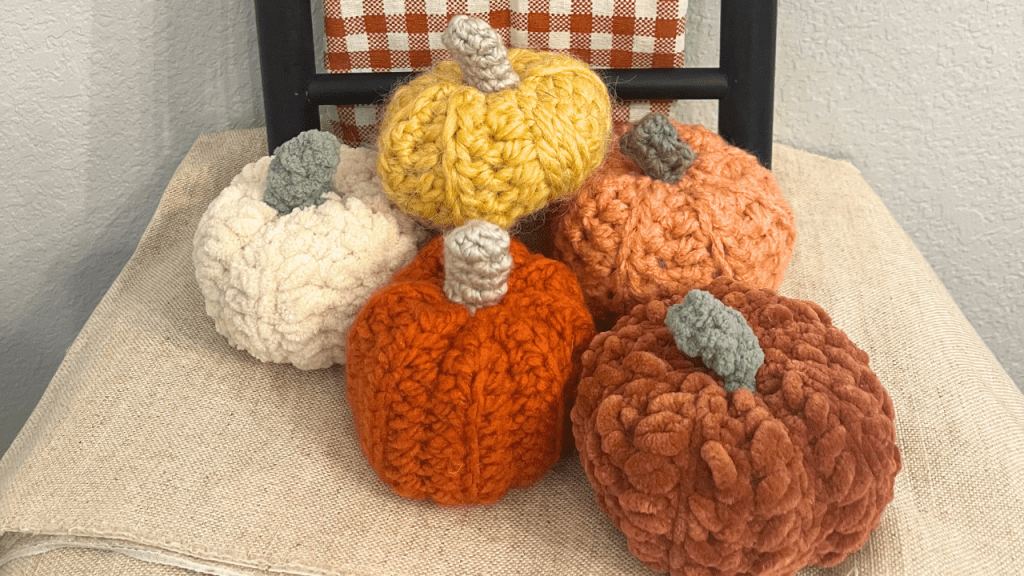
Blanket yarn, velvet yarn, or any other chunky or bulky yarn will make a great pumpkin. The yarn you choose may result in a larger or smaller pumpkin. I have used size 5 and size 6 yarn for this pattern, in all different colors and textures, to make a variety of cute, decorative pumpkins!

This pattern is written in US Terms.
This pattern can be adjusted to make a taller or wider pumpkin! To make a taller pumpkin, start with a longer starting chain. To make a wider pumpkin, add more rows.Materials:
YARN
#5 or #6 Chunky or Bulky yarn
(1 color for pumpkin and 1 color for stem)
HOOK
6mm / J / 10
OTHER SUPPLIES
Small handful of poly-fil stuffing
Yarn Needle
Scissors
Instructions:
Pumpkin:
(with pumpkin color)
Ch 12.
Row 1: Sc in the 2nd chain from hook, hdc in the next 9 ch, sc in the last ch. Ch 1, turn.
Row 2: (working in back loops only!) Sc in the first stitch, hdc in the next 9, sc in the last st. Ch 1, turn.
Rows 3-14: Repeat row 2. Ch 1, turn.
Row 15 (worked through 2 layers to sew pumpkin together): Fold pumpkin in half. Sl st across, working through the back loops of the last row and through the starting ch row.
Cut yarn, leaving a long tail. Thread yarn onto a needle. Use this tail to cinch the pumpkin closed by running the yarn through the end stitches then pulling the yarn tight. Tie yarn tail to beginning yarn tail to secure cinch. Weave ends up into pumpkin to hide them.
Stem:
(with stem color)
Ch 5.
Row 1: Sc in 2nd ch from hook and in the next 3. Ch 1, turn.
Row 2-3: Sc across, ch 1, turn.
Row 4: Sc across. Cut yarn, leaving a long tail. Thread long tail onto a needle. Fold the stem in half and use the tail to stitch the last row to the beginning ch row. Do not cut yarn! Keep the needle threaded.
Stuff the pumpkin with a handful of poly-fil. Use the threaded needle to cinch the top of the pumpkin closed, then stitch the stem to the top of the pumpkin. Push the needle through the pumpkin, top to bottom. Pull the threat tight so that the pumpkin gets shorter and has more of a pumpkin shape. Then push the needle back through the pumpkin, bottom to top. Secure the pumpkin shape by tying the threaded yarn to the beginning stem tail. Tie ends off and weave them in. Finish off!
Watch the crochet along video here: (right handed)
And here: (left-handed)
Happy Fall and Happy Crocheting!
Anita

Leave a comment